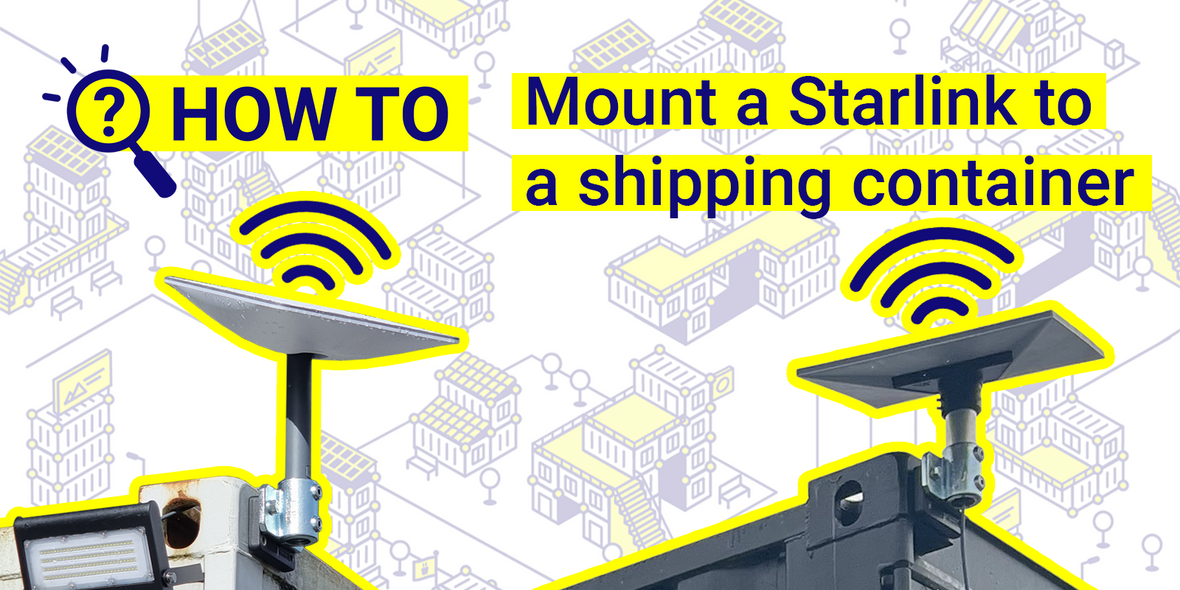
How to Mount a Starlink Kit to a Shipping Container
What is a Starlink Satellite?
Starlink is the general name for a system which delivers internet to anywhere in the world. Unlike traditional satellites which are much further away, Starlink uses a network of satellites in low Earth orbit, reducing the time it takes for data to travel between the user and the satellite, resulting in faster and more reliable internet service, anywhere in the world, no matter how remote.
Why attach a Starlink kit to a container?
Due to the popularity of shipping containers as tiny homes, scientific monitoring stations, offices and lockups, anywhere there is a converted shipping container, there is likely to be also a need for high speed internet.
The standard consumer Starlink kit from SpaceX only comes with a simple floor-mounted stand but in order to minimise obstructions between the dish and the sky, it is advisable to mount the dish in such a way to avoid trees, buildings or other obstacles that could interfere with the signal.
By attaching the Starlink kit to a pole or mast on the roof of your shipping container, the receiver can stay in position all year round if necessary without fear of being knocked over or blown away, all while hopefully improving its connectivity by reducing the amount of possible obstructions.

How to install a Starlink kit to a shipping container?
How high above my shipping container does the Starlink kit need to be?
There is no specific height above the ground for it to function effectively; the most important factor is having a clear view of the sky where it can maintain a direct line of sight with the satellites in orbit.
Depending on your shipping container’s location, simply mounting it to the roof of the container might be sufficient if there are no obstacles nearby that could block the signal. In a location where trees or buildings are present, it will be beneficial to mount the Starlink receiver higher up.

We offer two shipping container Starlink adapter kits; one to mount your Starlink dish to the shipping container or conex box roof, and one for mounting higher up on a pole or antenna attached to the shipping container.
Starlink mounting kit for shipping containers

The Starlink mounting kit will position your Starlink dish about 30cm above the roof of your shipping container
How to attach the Starlink mounting kit to the shipping container
- Attach the Domino Clamp to one of the upper corner castings of the shipping container.
- Bolt the 48mm tube clamp to the Domino using the M12 set screws and washers provided.
- Gen2: Insert the Starlink pole into the Starlink gen2 tube adapter until you hear it click.
Gen3: Replace the Starlink kickstand with the Starlink Gen 3 tube adapter, and insert the aluminium tube into the tube adapter, tightening it in place using the six small grub screws. - Insert the Aluminium tube into the 48mm tube clamp with the Starlink facing up to the sky. Tighten up the grub screw on the tube clamp with an 8mm hex key.
Starlink pole mounting kit for a shipping container

The Starlink pole mounting kit will position your Starlink up to 6.4m (21ft) in the air, and 4.2m (13ft) above the roof of your shipping container. This kit requires that you source a long 48mm (1.5” NPS) schedule 40 steel tube at the length you require. Everything else except the Starlink itself is included in the kit.
How to attach the Starlink mounting kit to the shipping container
- Attach one Domino Clamp in the top corner casting of the shipping container and one in the bottom, following our detailed instructions if you are unfamiliar with the technique.
- Bolt the unbored tube clamp to the bottom Domino Clamp, and the bored through one to the top Domino, using just one of the M12 screws for the moment. The tube clamp will hang at an angle.
- Feed your 48mm (1.5") tube through the top tube clamp from underneath.
- Gen2: Now push the black Starlink tube adapter into the 48mm tube and insert the Starlink mast into the adapter until you hear it click.
Gen3: Replace the Starlink kickstand with the Starlink Gen 3 tube adapter, and then attach the tube adapter to the top of your tube, tightening it in place using the six small grub screws. - Insert and tighten the final bolt into the top tube clamp, and make sure all the screws and grub screws are tightened securely.
How should I send the cable from the Starlink Kit into the shipping container?
It is always best to avoid cutting holes in your container, so this can make choosing a good cable entry point problematic. Depending on your container and the level of modification it has received, you might consider;
- Entering the data cable through an existing vent or hole in a wall,
- Drilling a hole through the wooden floor of your container into the cavity below.
- Using an existing cat5 data cable installed in your shipping container and adding cat5e ends instead.
Further Information & Links:
View the Starlink Kits here in our webshop
Check out our YouTube channel to see our Starlink kits in action.
For more ingenious container solutions, useful information and offers delivered direct to your inbox, sign up to our information email 📨 or subscribe to our YouTube channel 📺