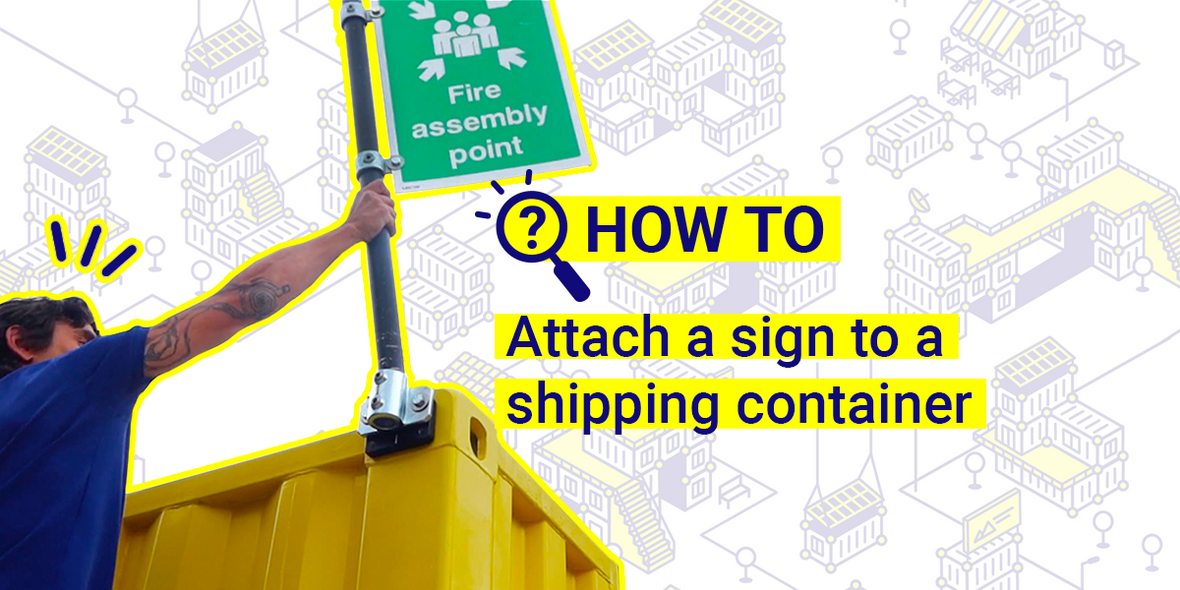
How to attach a sign to a shipping container
It's hard to understate the importance of clear signage, particularly where it concerns maintaining the safety of participants at an event, or workers on a construction site.
In this how-to we will show you how to attach a sign to a shipping container, so whether you need to mark the location of a fire assembly point or direct people to the exit, when you need to change or remove the signage it will be quick and easy to do.

Why attach a sign to a shipping container?
With your signage attached to a shipping container, it is placed high up and clearly visible, and presents no additional trip hazard or obstruction to pedestrian or vehicular traffic. And because Domino Clamps don't require drilling into the container or damage it in any way, you can easily attach signage to containers which have been rented in, without having an angry container hire company asking why you've drilled a hole into their site office when they get returned.
What's more, you can rest assured there is little chance of your sign being blown away when it's bolted to over 2 tonnes of steel shipping container.
Using only a couple of hand tools and in a couple of minutes, you can easily have the signs you need to display around your shipping containers securely fastened and easily visible.
One way to fix your signage to a container
There are a number of ways to fix a sign to a container, and for this blog we will start with a simple method using a steel tube for our sign post.
As you may have seen in a previous blog, there are 3 sizes of steel tube you can attach to a shipping container. You can use any of these 3 sizes, but for this tutorial we will use 48mm tube (scaffolding tube) as it is by far the most common of the 3 sizes.
The same method will work equally well fixing a more lightweight signpost to your container using 42 or 33mm steel tubing. 
You'll need one of our shipping container signpost kits for 48mm tube, which comes with a Domino Clamp, a single vertical tube clamp with bolts and washers, a couple of single lugged clamps, bolts and washers suitable for attaching your sign, and a 80cm piece of aluminium scaffold tube.
The sign we use in this demo is printed onto a 6mm foamex type material, so we have used a large washer on the front to help prevent the bolt from tearing through the sign if the wind were to pick up.
Please note that the kit does not come with a sign.
Method: (or scroll down for the how-to video!)
- First, secure the Domino clamp into either of the side holes in the corner casting you want to use. You'll find these in all four top corners of your shipping container.
- Using an adjustable spanner, use the M12 screws provided to bolt the vertical tube clamp directly onto the Domino Clamp. It doesn't really matter whether you use the top 2 holes or the bottom holes in the Domino.
- Safely back on the ground, assemble the sign and sign post. Bolt your sign to the lugs on the single lugged fittings with M10 Bolts, and then feed your scaffolding pole through the fittings, doing up the grub screws nice and tight.
- Now with your sign and signpost assembled, and all bolts and screws fastened securely, you can mount the signpost into the palm railing tube clamps which you fixed to the shipping container in step 2. Angle the sign to fit, and tighten up the grub screws on the vertical tube clamp with an 8mm hex key.
If you have containers stacked up on each other you could also attach a sign using our horizontal perpendicular tube clamp using this method.
For more ingenious container solutions, useful information and offers delivered direct to your inbox, sign up to our information email 📨 or subscribe to our YouTube channel 📺


