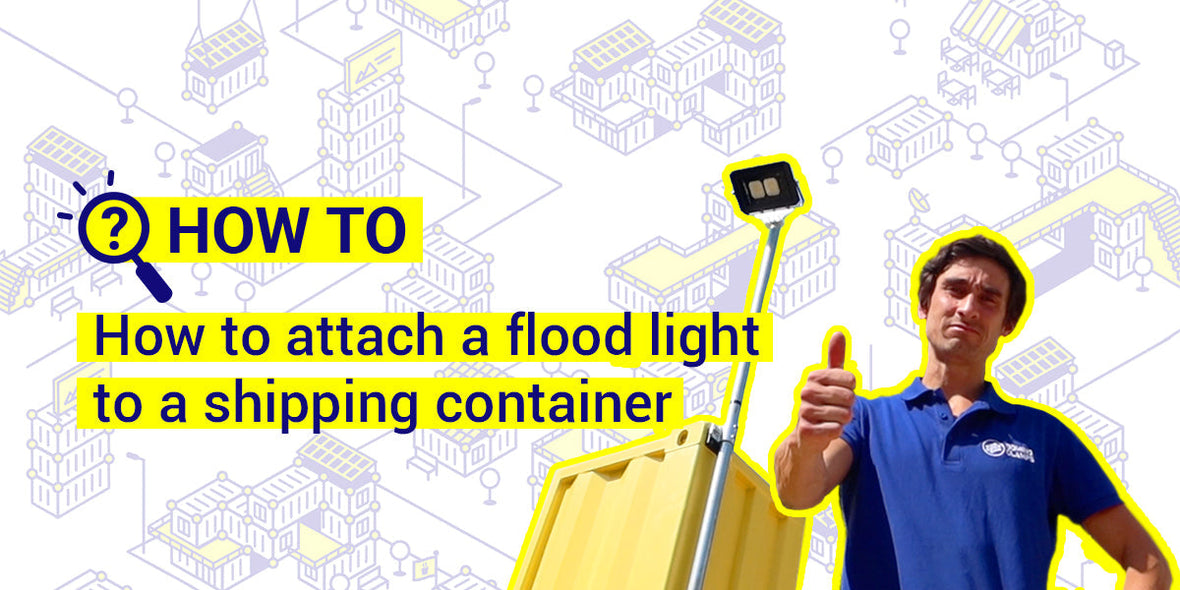
How to attach a floodlight to a shipping container
On building sites, events and in portable storage locations where you find shipping containers as standard, there is often a need for people to be working or otherwise making use of the space at night.
In this how-to we will show you how to mount a floodlight to a shipping container, rather than hiring in expensive lighting masts, mobile lighting towers or having to create some other fixing method to attach your floodlight pole into the ground.
When used in conjunction with one of our CCTV pole kits, the container becomes the base for both the CCTV camera and the floodlight to illuminate the area at night, so the camera can continue to operate into the hours of darkness.
Why mount a floodlight high up?
When lifted to height, a floodlight not only illuminates a larger area, but it can do so more evenly and without dazzling anyone who walks into its path. Having your floodlights higher up means smaller and shorter shadows. All in all, a few bright and carefully placed floodlights will illuminate an area much more effectively than multiple smaller lights placed lower down.

What you'll need to light up your shipping container high up
With our full height floodlight kit, you’ll have almost everything you need to secure your floodlight and pole to a shipping container. All you’ll need extra is a scaffold tube at the length you require (as well as the shipping container and floodlight of course) and unlike other options on the market the scaffold pole is securely attached to the container, unable to rotate or be lifted up (in high winds, for instance).
Inside the kit you’ll find two Domino Clamps, a pair of Interclamp vertical tube clamps (also known as palm railing tube clamps), with one bored through, bolts and washers, and a universal Floodlight bracket.

How to put it together
- Attach one Domino Clamp in the top corner casting of the shipping container and one in the bottom, following our detailed installation instructions if you're unfamiliar with the technique here.
- Then bolt the normal tube clamp to the bottom Domino, and the bored through one to the top Domino, using just one bolt initially. The clamp will dangle at an angle.
- Then feed your scaffold pole through the top tube clamp from underneath.
- Now you can assemble the floodlight bracket and use it to fix the flood light to the top of your scaffold tube, which will now be at an angle, just above the top level of the shipping container.
- Now push the tube upwards through the top clamp, making it more vertical you go, and lower it back down into the bottom tube clamp.
- Once the tube is vertical, in line with the corner of the shipping container and nestled in the bottom tube clamp, you can add the final bolt into the top clamp, and make sure everything is done up nice and tight.
This method can make use of any floodlight up to 8kg, and with 2 tonnes of shipping container holding the lighting pole in place, you can rest assured that the whole assembly is safe and secure.
Attaching a light up to 80cm above the roof of a shipping container
If you do not need to mount your floodlight so high, you can use just a single domino and vertical tube clamp, which you will find all the equipment for, in our half height floodlight kit. This will just attach your floodlight to a 80cm pole attached to the top corner casting of the shipping container only. The method for this is very similar to that which we used to attach a sign to a shipping container using similar equipment.

Another option would be to screw your floodlight directly to one of our plywood adaptors, this method would also work well if you wanted to add solar lighting to your shipping container as they tend to have a smaller illumination area. Solar lights have the benefits of not needing a power source or any accompanying cables.
Thanks to Bright LED for supplying the Floodlight for this how-to
For more ingenious container solutions, useful information and offers delivered direct to your inbox, sign up to our information email 📨 or subscribe to our YouTube channel 📺


